

How to Replace a Fuel Filter
The fuel filter in your vehicle prevents debris like dirt and rust particles from entering your engine, protecting it and ensuring that it works efficiently for all the miles ahead. While you should definitely replace the fuel filter at the manufacturer-recommended interval, you may need to do so earlier than expected. Some signs of needing a new fuel filter include difficulty to start or complete inability to start, shaky engine idling, struggling at low speeds, or the engine dying while on the road. These events could be caused by other issues as well, but if you’re certain that the fuel filter needs to be changed, here’s how to do it.
Clean the Cabin: Check out these four essential ways to safely sanitize your vehicle
Gather your materials
You’ll obviously need a replacement filter if you’re going to toss the old one. Your owner’s manual should have the details of the exact filter required for your vehicle. You can also use a trusted parts website’s vehicle finder to get the new fuel filter. Along with the new filter, you’ll need gloves, protective eyewear, old rags, a small screwdriver, pliers, jack stands, and possibly a wrench set (depending on how things are put together on your car).
Lift the car and locate the fuel filter
Use the jack stands (and their directions) to safely lift your car on a flat surface. [Note: Be sure the engine is cool before doing any work. You don’t want to burn yourself on a hot engine.] Once the car is lifted properly, you can typically find a vehicle’s fuel filter under the hood in the engine compartment or under the car near the fuel tank. Be sure to have those old rags handy, as you will likely have some gas leak from the fuel line once it’s open.
Release the fuel pressure
If your car has an electric fuel pump, most manufacturers recommend releasing the fuel pressure before doing anything else. Refer to your owner’s manual on how to do this safely.
Remove the fuel line connected to the filter
Most fuel filters have a plastic covering to protect them from damage; remove this with a flat-head screwdriver or a wrench. Once the fuel filter is exposed, remove the fuel line (or hose) that’s connected to the filter. Be sure to check the hose for cracks or other damage.
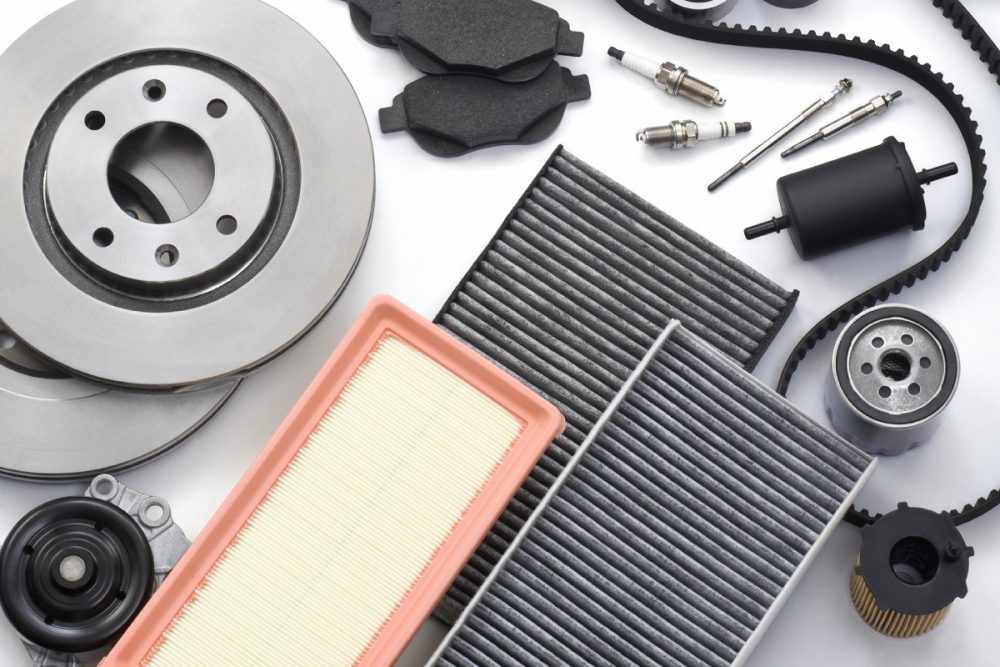
Fuel filter if equipped looks like one of these pic.twitter.com/7WXxg8XOCF
— Chris Scavotto (@Scavo63) December 15, 2020
Remove the old filter
Before removing the filter, take note of its orientation (you can snap a quick photo with your phone) where it is located so you know exactly how to put the new one back in. Don’t just toss the old fuel filter in your garbage bin, though! Due to its flammable state, you must dispose of it safely. Many waste management facilities or recycling plants have drop off hours for items like this. Check your local listings.
Replace the filter and reattach fuel line
Put the new filter in place and reattach the fuel line that you disconnected in an earlier step. Be sure to put the plastic covering back on the fuel filter as well. Ensure that everything is tightened enough to keep things in place, but do not over-tighten or you could cause damage to the fuel filter and its components.
Run the engine and check for leaks
Lower your vehicle and start the engine. As fuel makes its way from the tank, you want to check underneath to see if there are any leaks. It might take more than one attempt as the filter fills up with fuel.
Customizations: These are the best accessories to add to your Chevy truck
As with most vehicle maintenance, if you’re not completely confident with doing it yourself, it’s best to take it to a professional. But with these basic guidelines and your car’s owner’s manual, you should be set to safely and properly change a fuel filter.

Ben never thought he’d be writing about cars for a living, but here he is, knowing more about the Kia Stinger than he’d care to admit. When he’s not devoting his time to researching engine specs and other oh-so-exciting car details, he can be found enjoying time with his wife and dogs. See more articles by Ben.