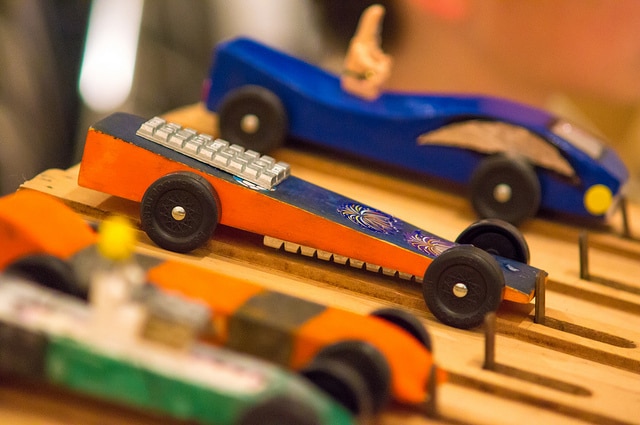
Don’t be the last car down the hill!
Photo: Havoc315 via CC
If we had to bet, you’re reading this article because you or your child is participating in a pinewood derby competition for Cub Scouts, Girl Scouts, or one of the many other clubs which carry on this time-honored activity.
Even though you’re starting with a plain block of wood that’s identical to everyone else’s, your finished race car doesn’t have to be trampled by the pack. While the point of pinewood derby racing it to have fun and encourage creativity, there are some general guidelines you can follow to optimize your car’s performance–while still letting it be unique.
Here are four must-follow tips for making a winning pinewood derby car.
Champion Secrets for a Trophy-Winning Pinewood Derby Car
1. Put on Weight
Your car should be at the maximum allowable weight limit (typically five ounces). You’ll probably need to add a couple ounces reach that limit, and it’s best to use dense weights like lead or tungsten, which take up less space and don’t throw off your car’s shape. Add the extra weight to the rear so the center of balance is an inch in front of the rear axle.
If you bake the wood block beforehand–two hours at 250 degrees–you can remove any moisture and manipulate the weight distribution even more. Get your car weighed before the big race so you don’t have to make any unexpected, last-minute alterations to add or remove weight from your car.
2. Consider the Shape
For your prize-winning car to make it down the sloped track first, you want your wooden racer to be aerodynamic. Reduce wind resistance to make it roll faster. Don’t carve a rectangular shape, but instead have a small surface area on the front leading to a larger surface area on the back: a wedge.
Don’t have a pointed nose, which has difficulty resting on the starting pin and following a straight path; make sure it’s obvious which end is the front so the car isn’t placed on the track backward. Before your start painting, make sure all the edges are rounded and lines are smoothed out.
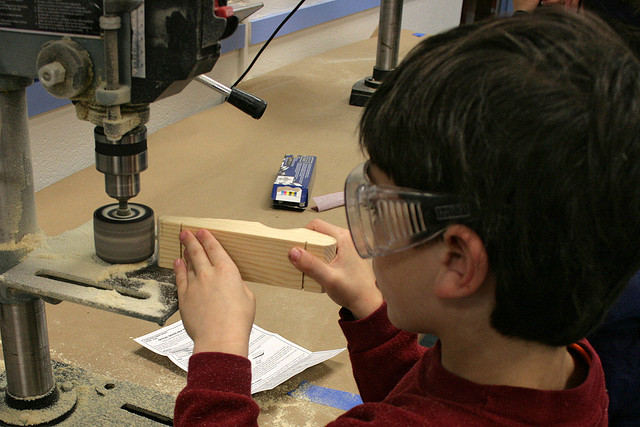
Sand down any edges on your pinewood derby car to make it smooth
Photowoodleywonderworks via CC
3. Reduce Resistance
Maintain your car’s momentum while it crosses the flat part of the racetrack by reducing friction. Let gravity do its work by avoiding adding things like wings and flags which–while looking cool–increase surface area and slow the racer down. Don’t drill holes into the vehicle-especially underneath, which most people do to remove extra weight–as unfilled holes catch air and reduce speed. Sand out and lubricate anything which could cause friction.
4. Keep Things Rollin’
The most important aspect of creating a winning pinewood derby car is underneath. Make sure your axles are not bent at all and that your plastic wheels are sanded down to make sure they’re finely polished. Use a dry lubricant–typically graphite–in the wheel wells, working the lubricant in thoroughly with some spins. Extend the distance between the axles as much as possible and make sure the alignment is perfect so the car rolls straight on the floor.
Once you follow these four basic rules, set your creativity loose and create a pinewood derby car that’s as unique and imaginative as you!
News Sources: Boys’ Life, Pinewood Pro, & Maximum Velocity

Aaron is unashamed to be a native Clevelander and the proud driver of a Hyundai Veloster Turbo (which recently replaced his 1995 Saturn SC-2). He gleefully utilizes his background in theater, literature, and communication to dramatically recite his own articles to nearby youth. Mr. Widmar happily resides in Dayton, Ohio with his magnificent wife, Vicki, but is often on the road with her exploring new destinations. Aaron has high aspirations for his writing career but often gets distracted pondering the profound nature of the human condition and forgets what he was writing… See more articles by Aaron.
