8 Steps to Replace Your Car’s Headlights
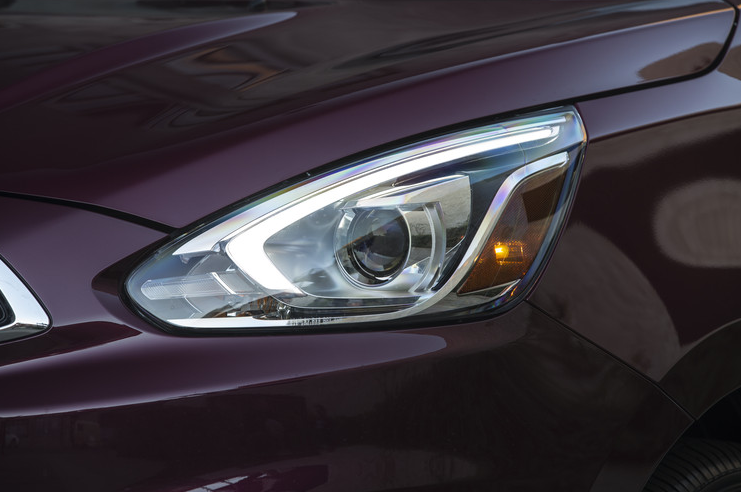
Headlights are important year-round, but especially in the depths of winter when we only have approximately six hours of daylight each day. When you find yourself with a busted headlight, you generally have two options: take your car to a dealership or service center for repair, or perform the repair yourself. If you are semi-handy and want to save a few dollars, follow these tips to replace your headlights at home.
More DIY Tips: How to change a tire yourself
Step 1: Check the bulb type and buy a replacement
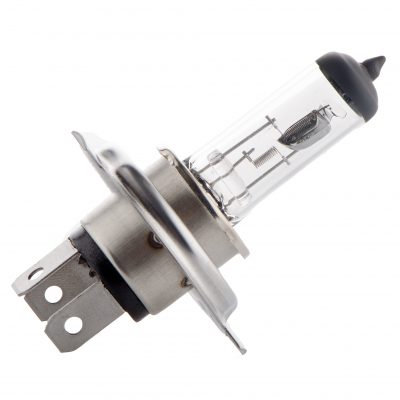
There are several different types of light bulb for cars, and it’s important you know which one you need before you start replacing yours. Your car’s manual may specify the type of bulb you need. If it doesn’t, you can ask an associate at your local auto parts store to tell you what you need based on your car’s year, make, and model. Failing that, you can remove the busted bulb and take it into the store with you to find a match. Most modern cars will either use high-intensity discharge (HID) or light-emitting diode (LED) lights.
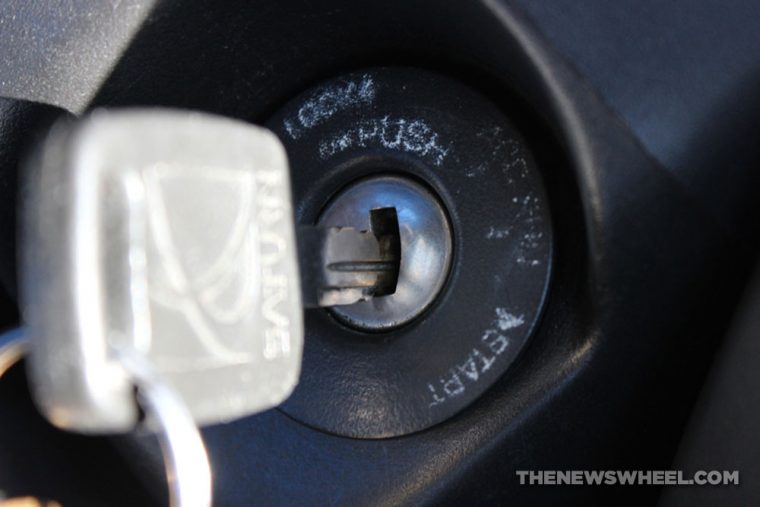
Step 2: Make sure your car is turned off
As with any type of auto repair, you’ll need to have your car turned off before you get started. It’s also a good idea to let your car sit for a while so it can cool down if you’ve driven it recently. Working on a hot car is asking for a burn.
Step 3: Pop the hood
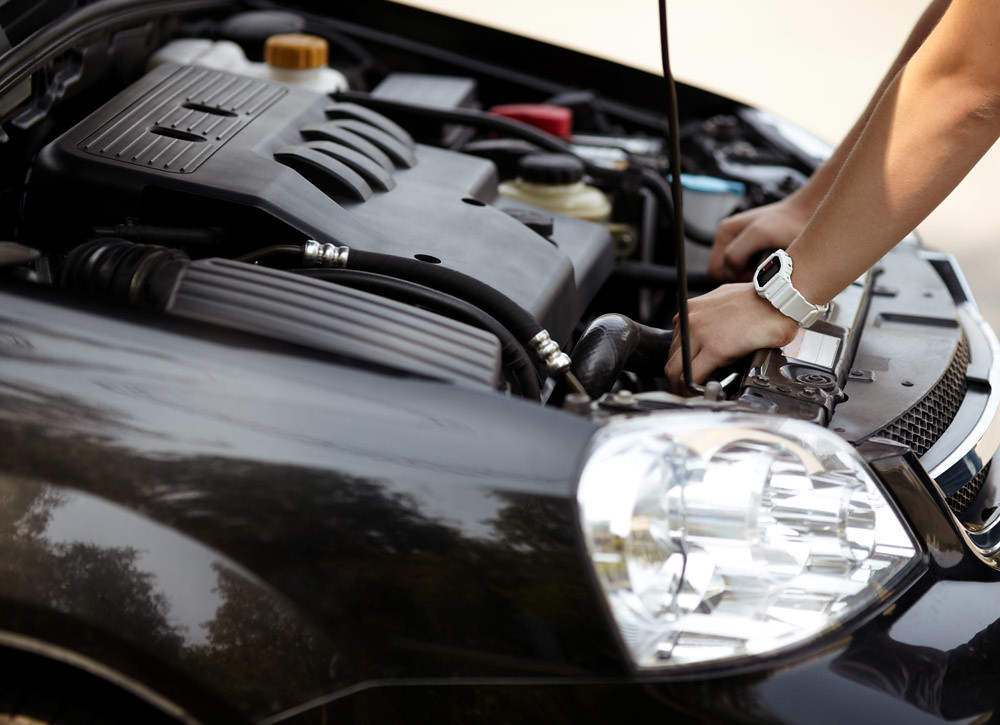
Most cars will require you to lift the engine’s hood in order to get to the headlights. If you’re not sure how to do that, consult your owner’s manual, and then pop that sucker.
Step 4: Disconnect the lamp connections
Look behind your headlights for the lamp connections. In many models, you’ll be able to simply disconnect them and replace the bulb. But some cars might require you to remove elements like the battery or air filter housing in order to reach the headlight. If that’s the case with your car, you might be better off having a mechanic replace your bulb if you’re not comfortable doing it yourself.
Step 5: Unscrew bulb
Once you can access the bulb, removing it is as easy as unscrewing a broken lightbulb in your home. If it’s stuck or you can’t figure out how to unscrew it, consider taking it to a professional rather than risking damage to your car. Once unscrewed, check the connection — you may need to clean it if it’s rusty or has gunk on it.
Looking to Save Money? Here’s why you should buy a used car
Step 6: Insert new bulb
After you have removed the broken bulb, screw in the replacement. Be careful not to touch the glass portion of the bulb, as the oils from your hands may cause the bulb to explode when it gets hot. Use cotton or latex gloves or a soft cloth to protect the bulb from your hands.
Step 7: Reconnect everything
After you have screwed in the new bulb, it’s time to put everything back together. Reconnect all the wiring and replace any engine elements you moved to access the headlight casing.
Step 8: Test the new bulb
Now that the bulb is in place, it’s time to make sure it works. Flip the headlight switch and look at the headlight from the front to make sure it’s functioning properly. If the replacement bulb isn’t working, you may have a problem with the wiring or the fuses, so those should be the next things you check. If you’re left scratching your head, it’s time to take your car to the professionals to figure it out.
Replacing your car’s headlights can be an easy DIY task provided they are easily accessible and you have a basic comfort level when it comes to automotive DIY. But remember: there’s no shame in taking your car to a dealership service center if you come unstuck.
Catherine Hiles (she/her) is a native Brit living and working in Dayton, Ohio. Cat has written about a variety of subjects, including finance, cars, and parenting. She is a frequent contributor to Dayton Mom Collective, The Penny Hoarder, and WDW Magazine.
Cat lives with her husband, their two kids, and their energetic pitbull mix. She counts running, lifting weights, walking, and reading among her hobbies. See more articles by Cat.


