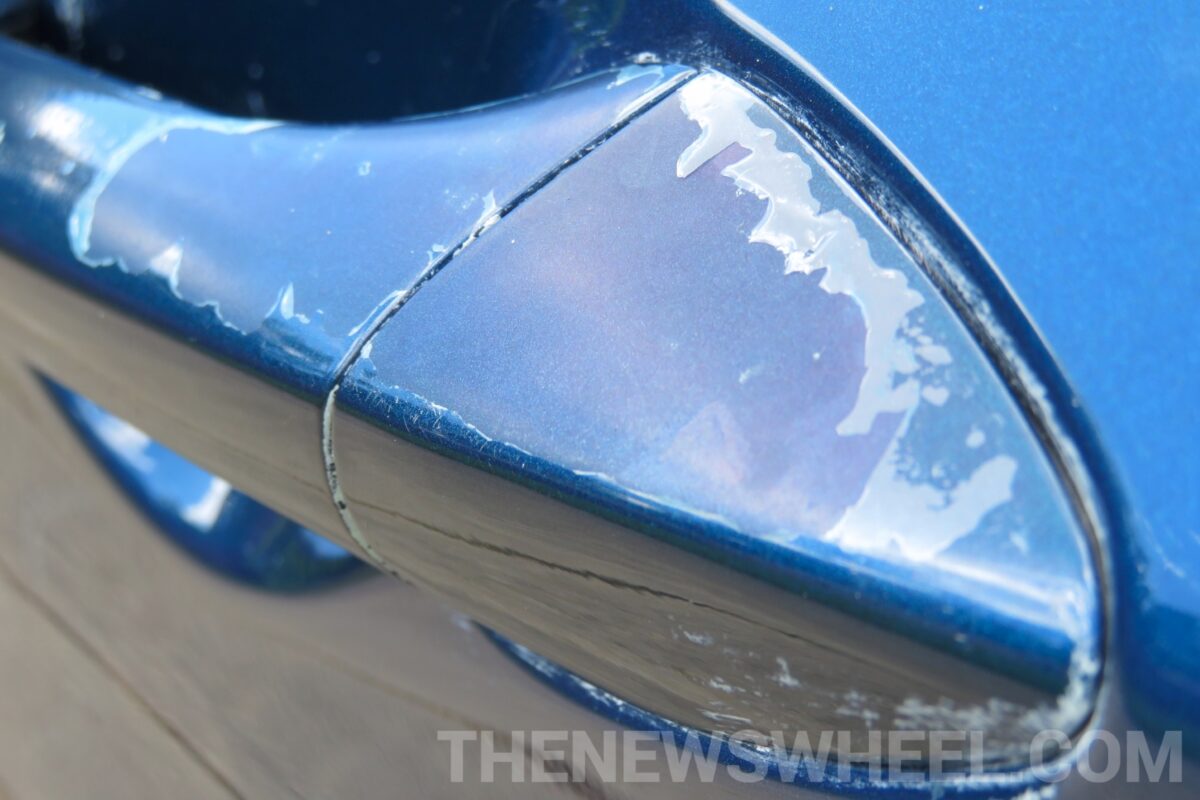
Photo: The News Wheel
Your car’s exterior surface has a clear coat of translucent film that shields the paint underneathfrom fading, chipping, and peeling. This protective lacquer is essential for maintaining your vehicle’scolorful appearance. But, your car’s clear coat can begin peeling even with proper care simply due to
age and exposure to the elements. Here are some ways you can repair your car’s peeling clear coat.
Are You DIY Repainting Your Car? Consider these five suggestions…
- This protective film is applied to your vehicle during its initial production. It’s designed to:
- Shield the paint so it doesn’t fade or peel from UV rays, oxidation, and corrosive substances
- Gives the surface a tad more durability and hardness
- Glosses the paint with an extra-lustrous shine
- Protect the metal underneath from moisture that causes rust
Step 1: Park your car in a ventilated yet protected area, like an open garage or carport.
Step 2: Wash the exposed area with a soft sponge and a gentle, car-safe soap to remove any dirt. Rinse
and dry the area thoroughly with a microfiber cloth so it’s dry as a bone.
Step 3: Use a fine-grit sandpaper or scratch pad (1500-2000 grit) to remove the loose flakes of the clearcoat so only the most well-adhered portions remain. Sand some of the remaining clear coat so the new
lacquer will blend evenly and stick to the old lacquer. Don’t scratch any of the exposed basecoat paint!
Step 4: Rinse and dry the exposed surface area again to remove all dust left behind from sanding.

Photo: The News Wheel
Step 5: Tape off any surrounding elements that you don’t want to have the new clear coat sprayed onto,
such as the mirrors, windows, or taillights. You can use newspaper or wrapping paper on large surfaces.
Step 6: Gear up with protective equipment like a breathing mask and gloves.
Step 7: Apply primer an initial coat of primer if the clear-coat product you’re using isn’t a two-in-one
combo. Follow the directions on the can.
Step 8: Apply a consistent, even varnish of new clear coat by following the directions on the can.Typically that involves shaking it vigorously, holding the can at least 6 inches away, and moving it slowly
back and forth.

Photo: The News Wheel
Step 9: Allow the wet paint to dry for 10-15 minutes depending on the temperature outside.
Step 10: Repeat the application of the clear coat spray two more times for a total of three coats.
Step 11: Wait 3-4 hours for the final coat of lacquer to dry before removing the painter’s tape.
Step 12: Give the clear coat at least two days to cure. During this time, keep your car hidden from
exposure and off the road. Don’t drive it yet!
Step 13: Dip some ultra-fine-grit sandpaper (1500-2000 grit) in water and wet-sand any spots on the
paint surface where there’s an obvious boundary line between the old and new clear coats.

Photo: The News Wheel
Step 14: Give the area a thick coat of polish that will give the new clear coat extra protection, buffing it
in thoroughly yet gently.
Step 15: Wash and wax your car every few months to keep more of the clear coat from peeling — including the new layer you just added.
Many DIY home mechanics recommend using a 2K high-gloss aerosol spray instead of a less-durable 1K product to reapply your car’s clear coat. 2K is what the professionals use, which is an epoxy-based two-component blend that uses a chemical hardener; 1K is your basic air-dry spray paint that’s cheap and simple but far less durable.
Just remember that if you use a 2K spray, it’s highly carcinogenic and very dangerous, so protect yourself thoroughly with gloves, chemical respirator mask, and goggles. Alternatively, you can use a touch-up epoxy paint product if you’re worried about the aerosol fumes. Do your research to find a reputable product with a proven track record of quality that won’t yellow, fade, or peel.
A DIY fix is suitable for small areas, no bigger than a foot edge to edge. Anything larger you should take the car to a body shop for repairs by professionals. This is not a perfect solution and may not mend your car’s flaking clear coat — and even if it does, it may not look flawless like it once did.
Aaron is unashamed to be a native Clevelander and the proud driver of a Hyundai Veloster Turbo (which recently replaced his 1995 Saturn SC-2). He gleefully utilizes his background in theater, literature, and communication to dramatically recite his own articles to nearby youth. Mr. Widmar happily resides in Dayton, Ohio with his magnificent wife, Vicki, but is often on the road with her exploring new destinations. Aaron has high aspirations for his writing career but often gets distracted pondering the profound nature of the human condition and forgets what he was writing… See more articles by Aaron.


