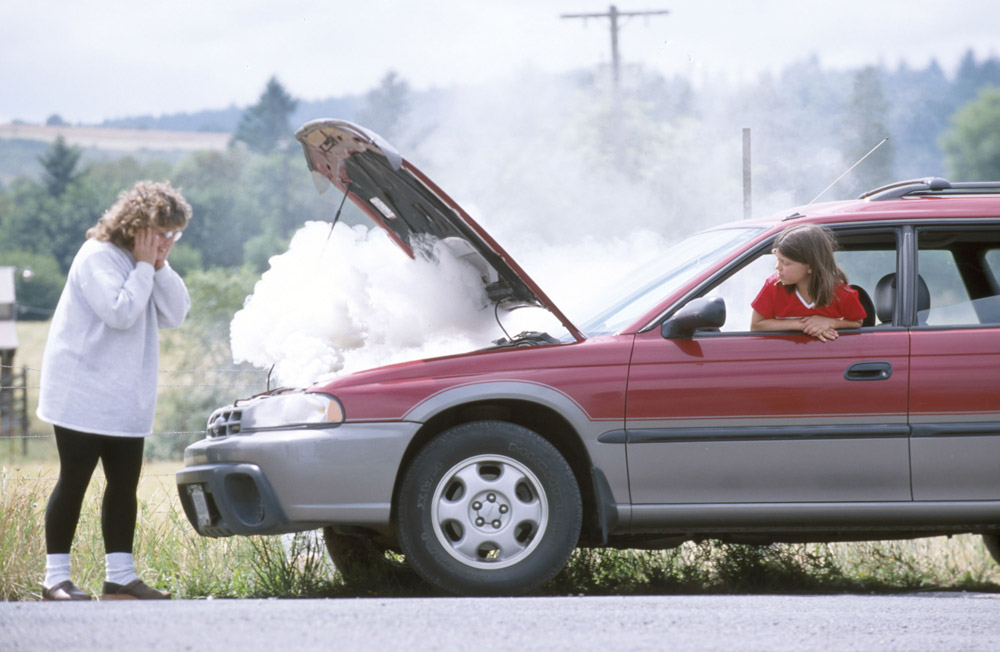

Here’s a maintenance task that many cars still need — especially older ones: radiator flushes. Flushing out your car’s coolant, rinsing the reservoir, and refilling with fresh coolant should be done every two years or so. It’s a crucial part of radiator maintenance. You can either perform this chore yourself following these steps or you can pay a mechanic to perform a radiator flush.
This is a quick overview of the process so you can decide if you feel comfortable performing this task yourself. For more detailed instructions, read this guide by Family Handyman.
Spring Cleaning for Your Car: Ways to freshen up your ride for warm weather
Never work on a radiator that’s still hot! Give your car a minimum of two hours to cool off after you’ve driven it before working on it — more if it’s a hot day outside. This is critical, as the coolant becomes incredibly hot when the car is running, and you’ll risk injury if the searing liquid comes in contact with your skin. Also, always wear gloves while flushing a radiator; coolant is dangerous!
Pop the hood and look for the radiator. It should be the large tank closest to you when you’re in front of the car. If you aren’t sure where it is, your car’s owner’s manual should have an engine bay diagram identifying it. You may see the valve cap with text such as “coolant” printed on it.
The “fins” are the metal slats on the front and back of the radiator. Use soapy water and a nylon brush to remove debris and dead bugs from the slats. Be sure to brush in the direction of the fins and not against them, as doing so could damage it.
Center a drainage pan under the radiator’s drain valve, and then loosen the small bolt on it (known as the petcock). This will release the liquid currently in the radiator. Put a lid on the drainage pan and set it aside. Refasten the petcock back in place.
Perform a quick inspection of the radiator cap and connections. Does the cap maintain pressure between the seal and the spring? Are the hoses connected to the radiator in good condition, or are they cracked or otherwise damaged? Are the clamps and seals sturdy?
Using a garden hose, fill the radiator with water through the top spout until it’s full. Once it’s at the appropriate fill level, loosen the petcock again and let the water drain out into a bucket.
Now it’s time to fill the radiator. Combine 50 percent distilled water with 50 percent antifreeze concentrate in a durable bucket (or just pour a pre-diluted coolant directly into the reservoir). Pour the mixture through a funnel into the radiator through the spout.
You’re not done yet! Leave the spout cap off to avoid pressure buildup, and start the engine with the hood up. Let it run for 15 minutes. As the coolant heats up, air pockets will exit the radiator, leaving more room for coolant. Turn off the car and add additional coolant to fill the radiator as necessary to top it off. Close the lid, and you’re done!
Over time, sludge and rust can build up in your radiator, leaving your vehicle less efficient and more prone to overheating. It’s important that your car’s radiator be kept in top shape, whether you choose the DIY route or pay an expert.
Car Care Advice: How to extend the life of your used car

Aaron is unashamed to be a native Clevelander and the proud driver of a Hyundai Veloster Turbo (which recently replaced his 1995 Saturn SC-2). He gleefully utilizes his background in theater, literature, and communication to dramatically recite his own articles to nearby youth. Mr. Widmar happily resides in Dayton, Ohio with his magnificent wife, Vicki, but is often on the road with her exploring new destinations. Aaron has high aspirations for his writing career but often gets distracted pondering the profound nature of the human condition and forgets what he was writing… See more articles by Aaron.